
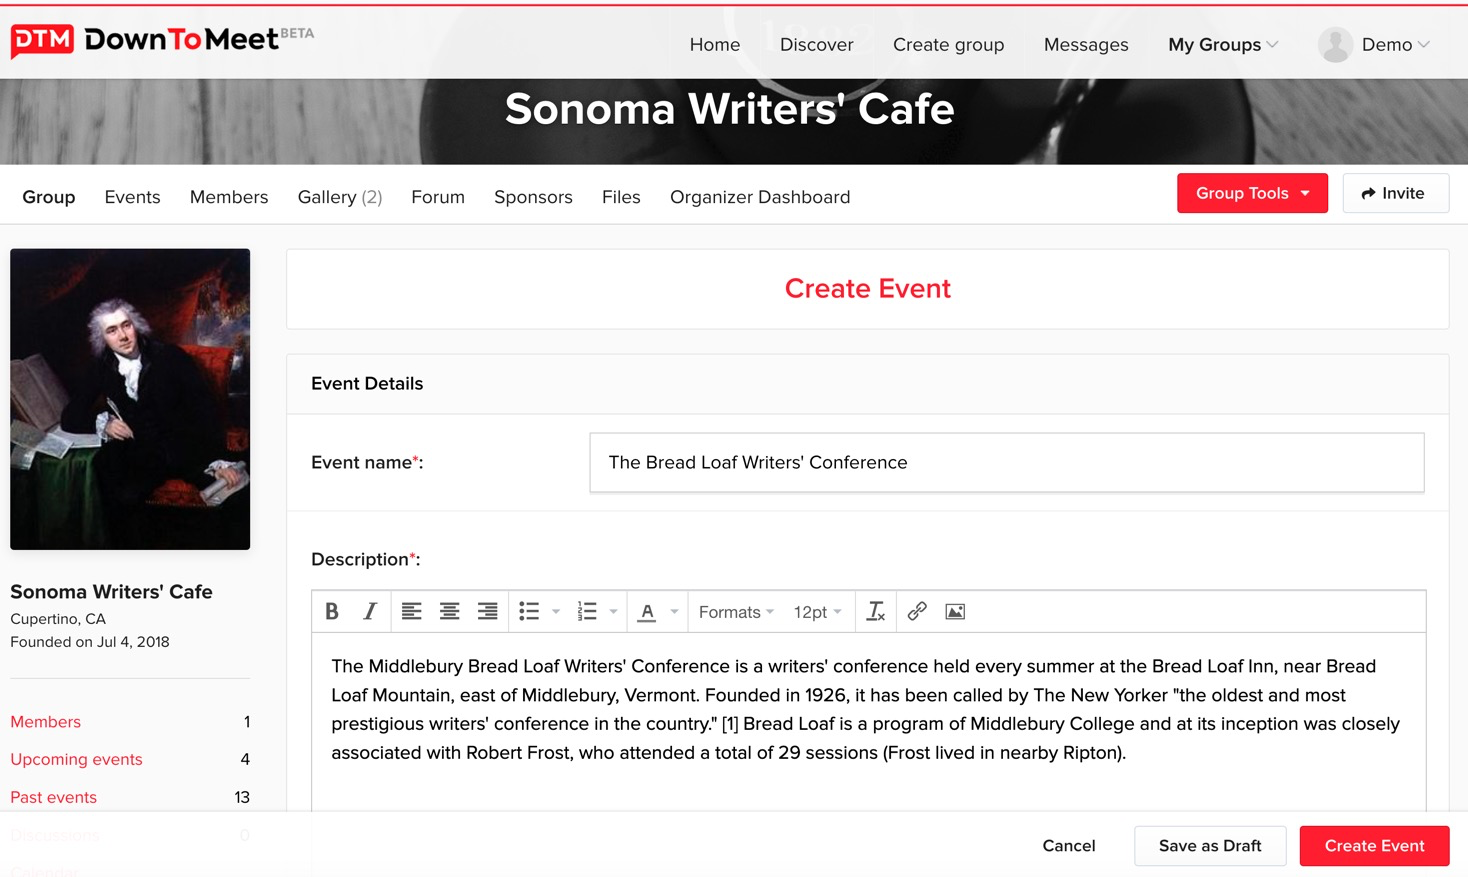
When you have created your group, you are ready to create an event. Select the group from the My Groups menu and click Create Event.

Adding Event Name and Description
Add an appropriate name and description to your event to create interest and so that people know what to expect.
Uploading an Image to your Event
Click the image icon in the toolbar of the description window to add an image. 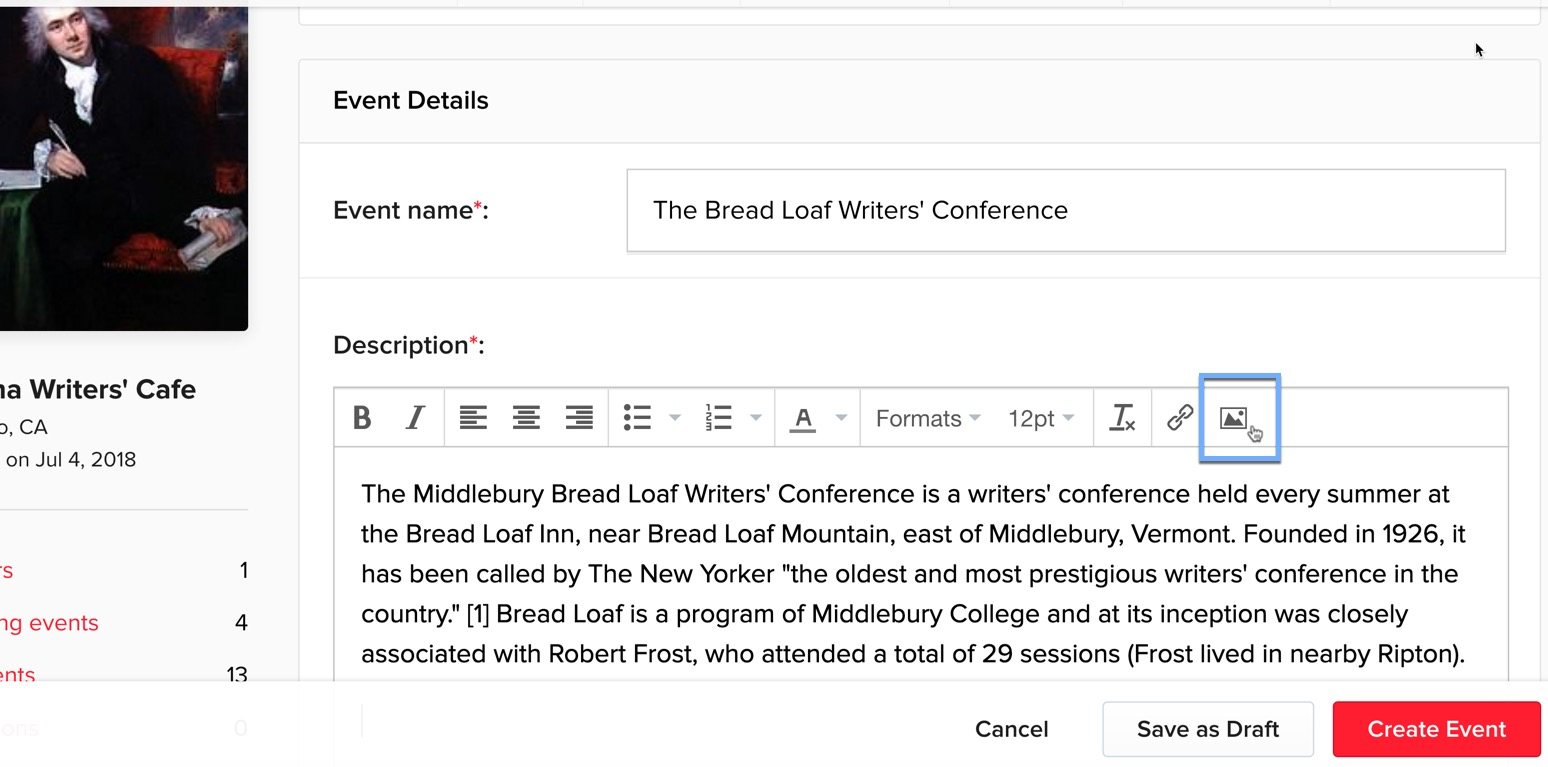
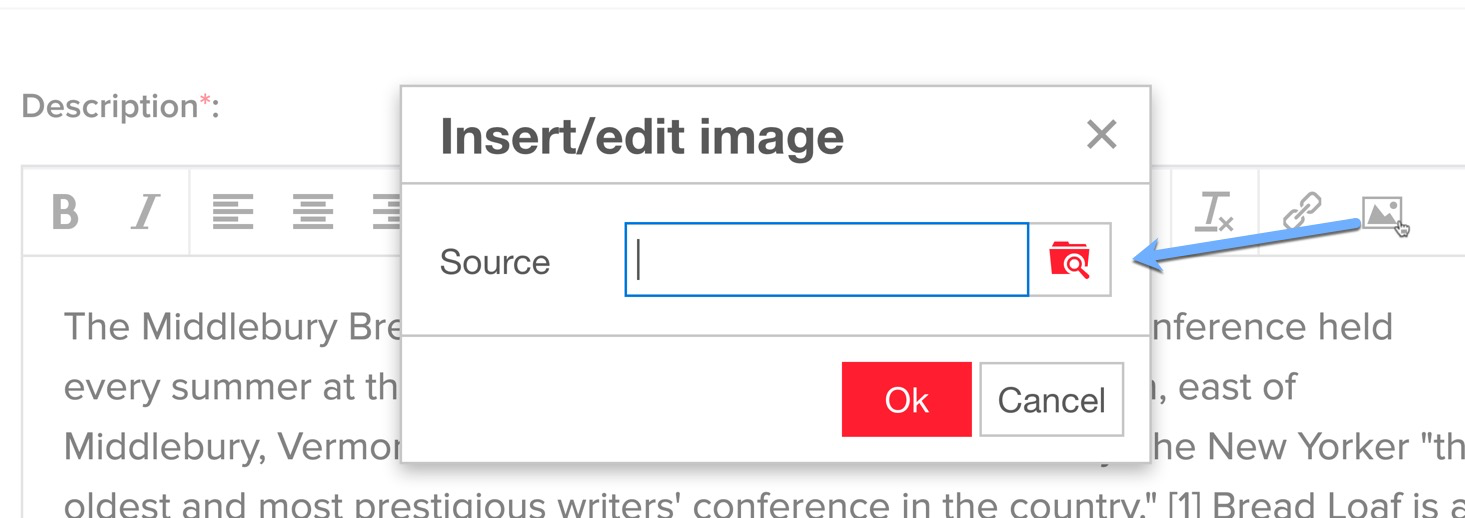
Either add a weblink to your image by putting the url into the Source area (make sure you include https://) or click the camera icon to upload an image from your computer.
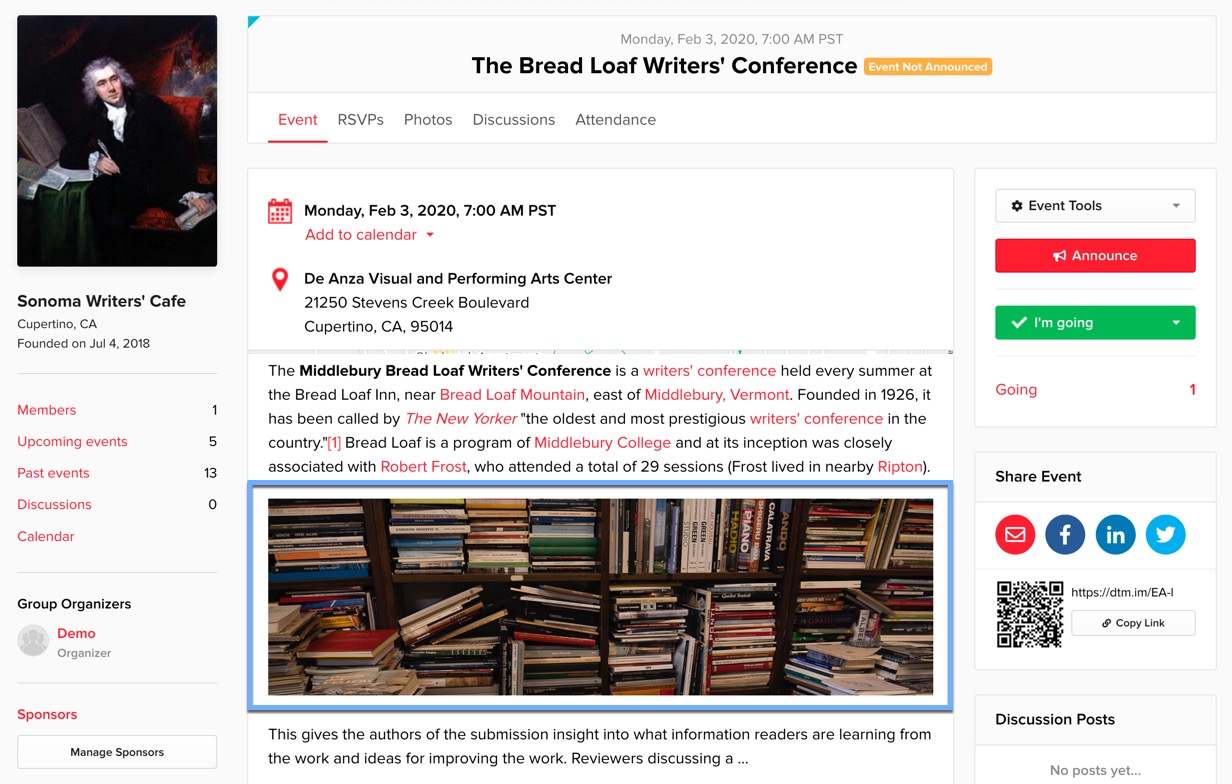
Adding an image to your event description will make it look more attractive.
Adding the Event Time and Location
Setting the Time and Date
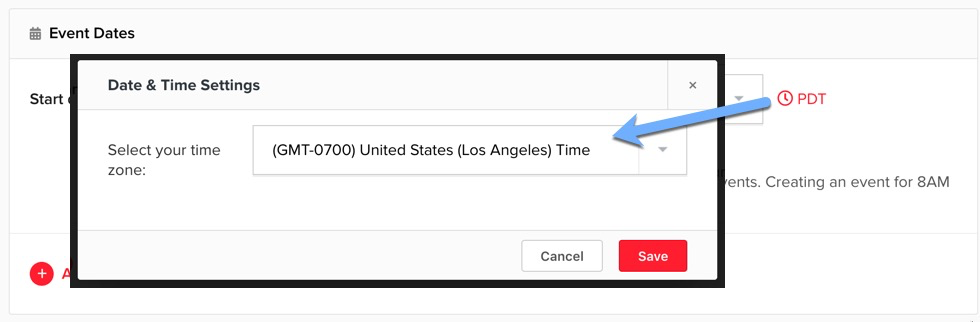
Set the time and date your event will be held, making sure you have set the correct timezone for the location of the event. To change the timezone, click on the clock icon and select the timezone from the dropdown.
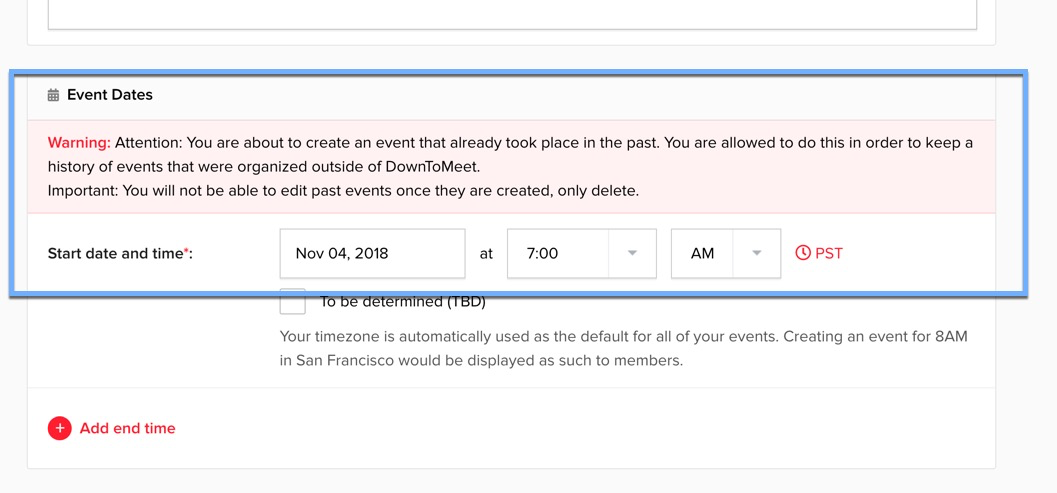
If you have yet to decide when your event will happen, you can leave this as TBD and add it later. You also have the option of adding an end time.
It is also possible to create a past event by entering the past date. If the group has been imported from elsewhere you can create a record of previous events in this way.
Creating a Repeating Event
In this area you also have the option of making your event a recurring event which takes place weekly, monthly, or the frequency of your choice.
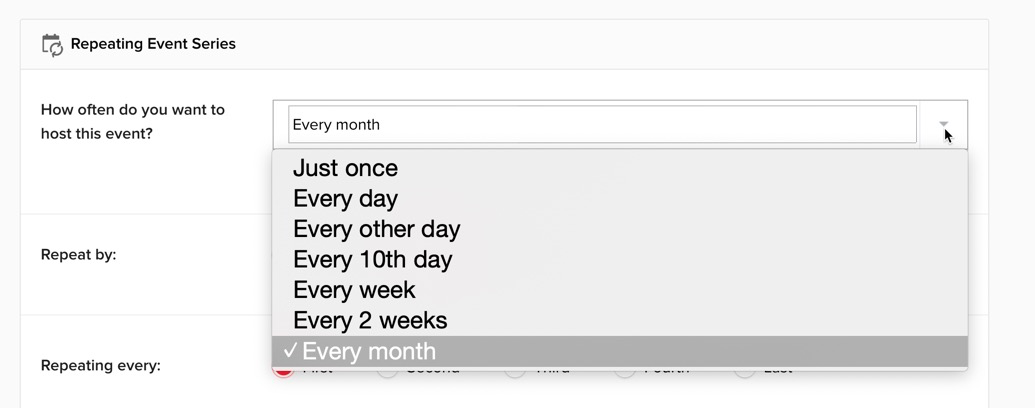
For more details on how to customize the frequency, see the article How to set up and Manage a Repeating Event.
Setting the Event Location
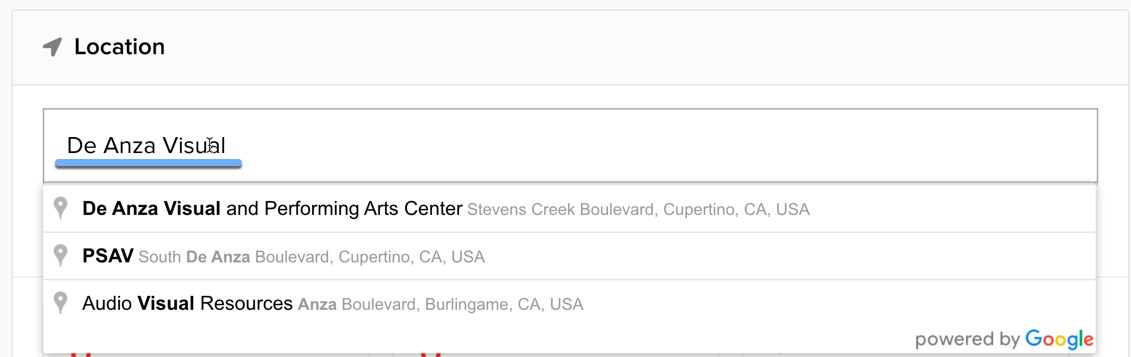
To add the event location, enter it into the search field.
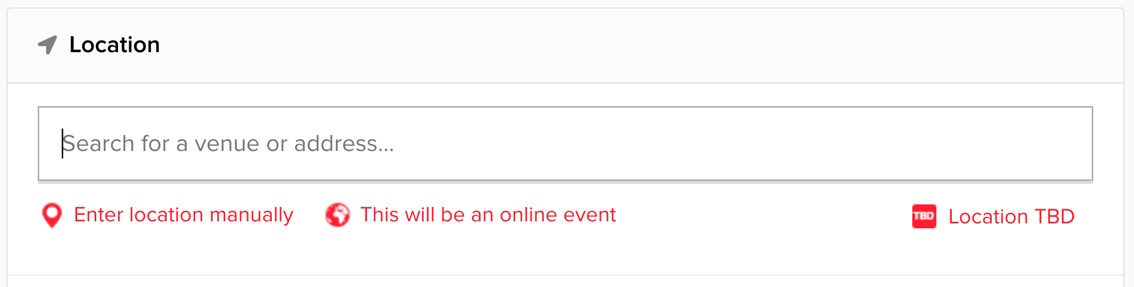
The location space is powered by Google Maps so you should be able to find your location easily. When you have found it, Google will fill in all the address details and load the map.
Users will be able to interact with the map with all the same functionality as Google Maps.
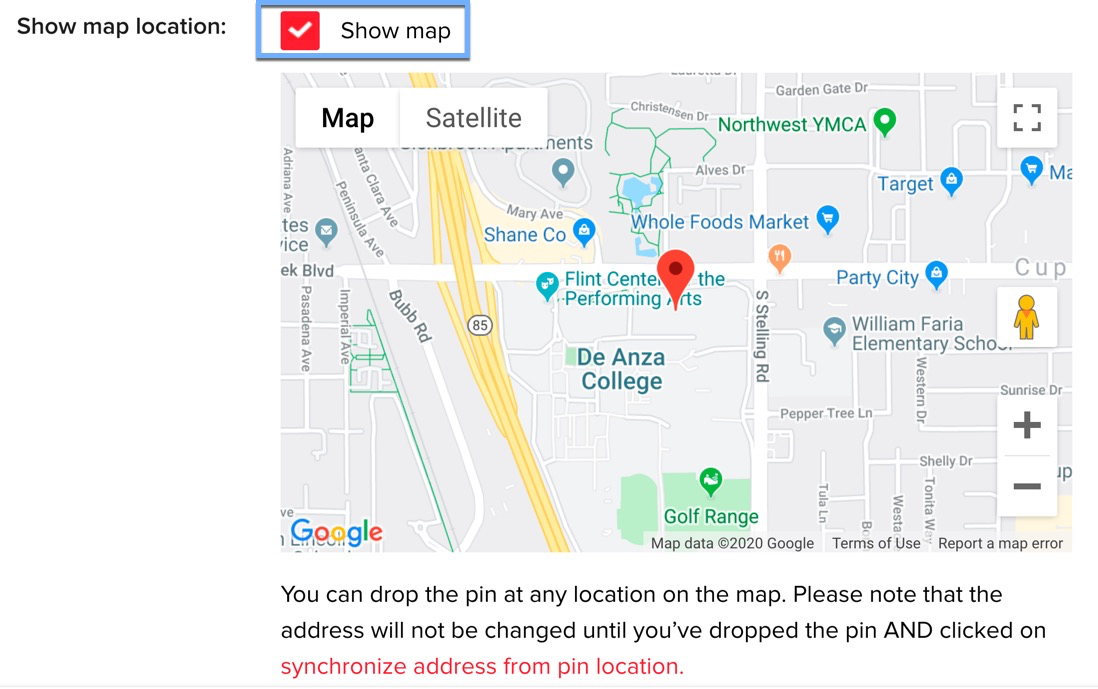
Add any additional details you feel may be necessary to help your users find the location in the instructions area.
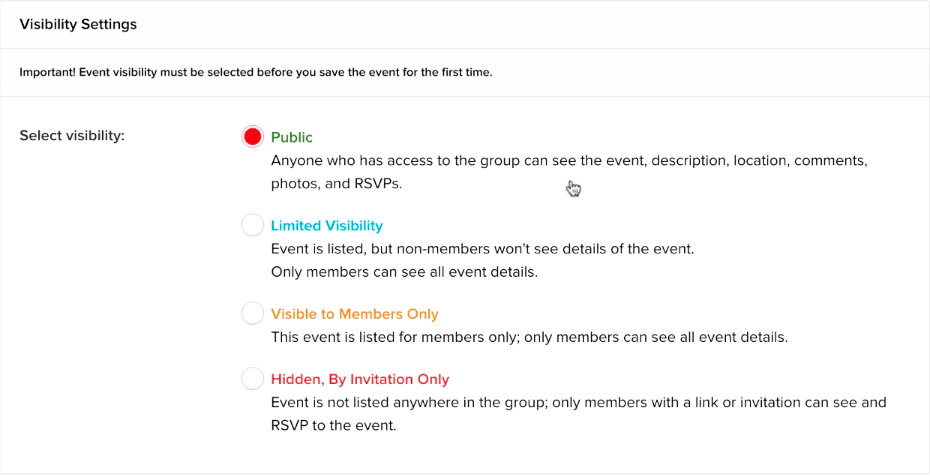
Setting Event Visibility
In this area you can decide who you want to see your event. You have a number of options to allow members and non-members visibility to your event. You can find more information on visibility options in How to Set Event Visibility.
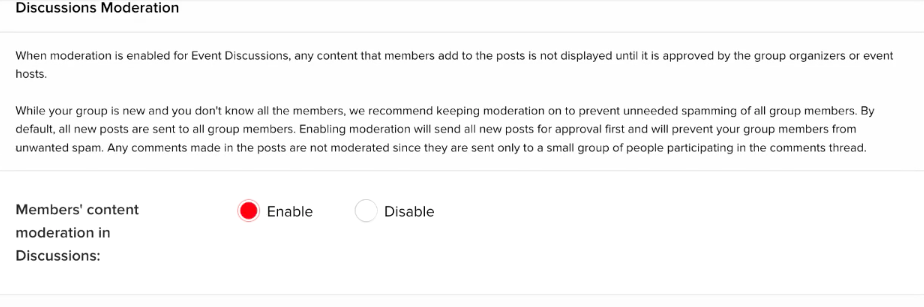
Adding Discussion Moderation and Event Review
If your event will have a discussion forum, you can choose to enable content moderation. This means that you, as the event organizer, will need to approve any comments in the forum before they are published.
For more details on managing the forum, see the article How to Manage the Discussion Forum.
Allowing event review means that users will receive an email after the event, asking them to review it.
 Adding RSVP Options
You are able to set many options for your guests when they accept your invitation. For example, allow them to bring a certain number of guests, or add a ‘maybe’ option. Note that guests who respond ‘maybe’ will receive all the event communication but will not have a reserved spot at the event.
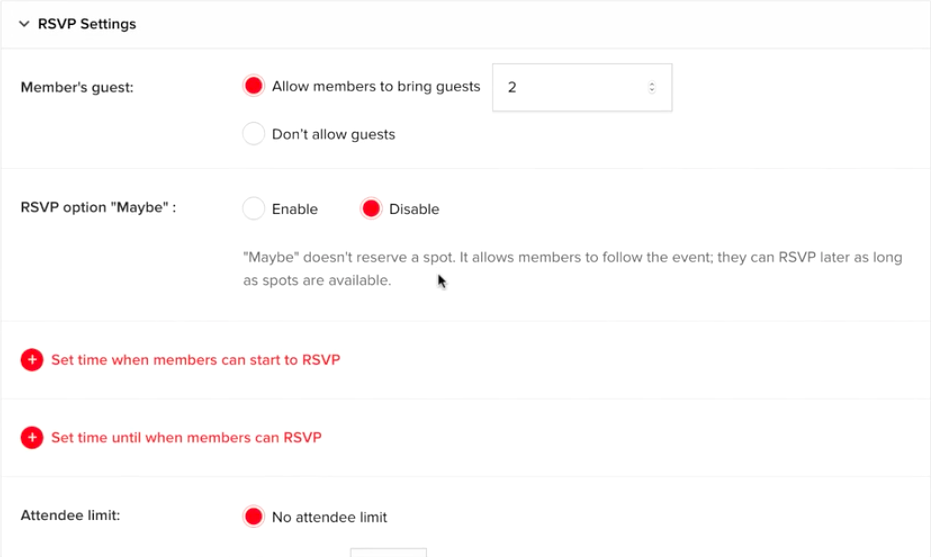
You can also set dates when you would like to let your guests start RSVPing and also a deadline for when you will stop allowing RSVPs.
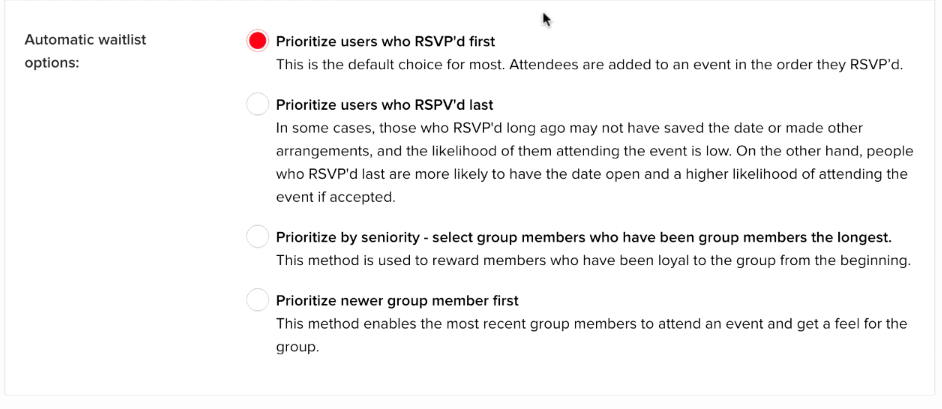
You can also limit the total number of guests at your event and add a waitlist to fill up empty spots if people drop out. The waitlist options allow you to prioritize who gets to join the event in this event.
For a more detailed look at RSVP options, check the article on Customizing Your RSVP Settings.
Adding Questions or Files to your Event
You can add a question or questions that users will be asked when they RSVP to your event. Questions are useful to qualify new members and to find out useful information about your event. For example, you may want to ask about dietary requirements if your event involves food. If the question is essential for your event, you can make it mandatory. However, bear in mind that too many questions can put users off and that they may abandon the RSVP process if it takes too long. Only you, as the event host, will see the answers to the questions.
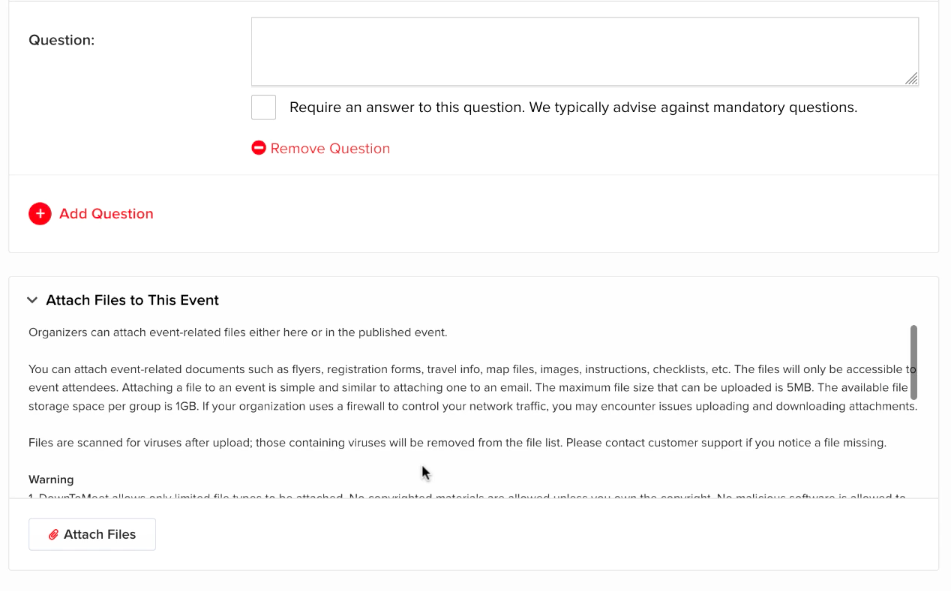
You can also attach files to your event if you need to add useful information for your users. These files will be available for download by all users who RSVP to your event.
You can see more information about adding files in the article How to Attach Files to Your Event
Publishing your Event
When you are ready, click Create Event.
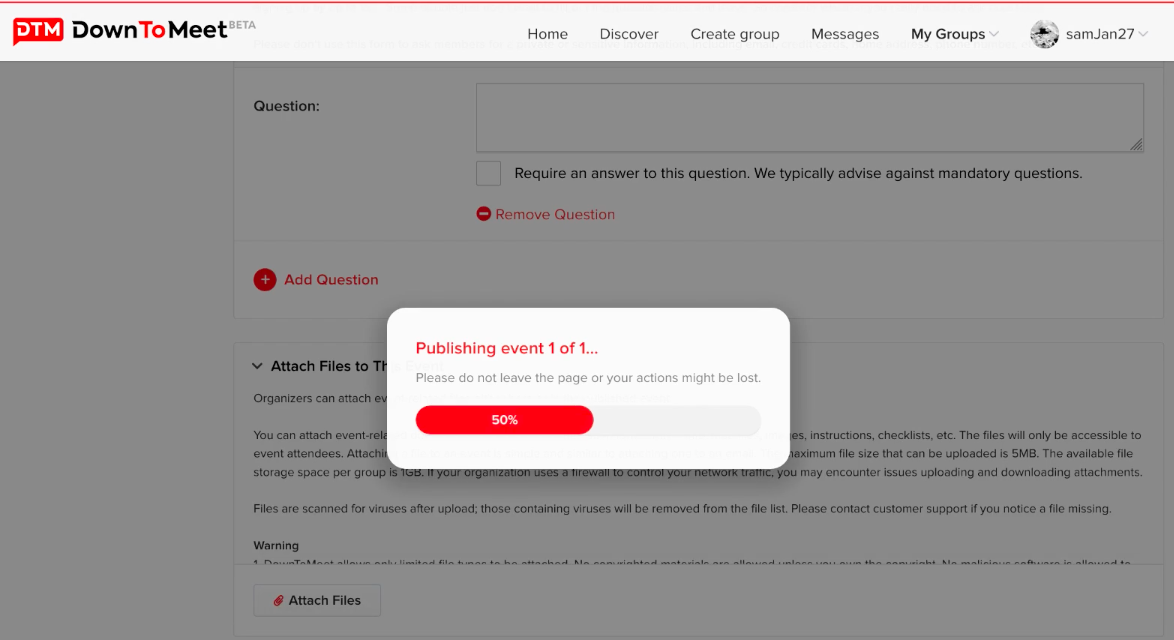
If you aren’t ready to publish your event, you can save it. This will be stored in the Drafts area until you are ready to either publish or delete it.

To see event management options, see the article How to Manage an Event.